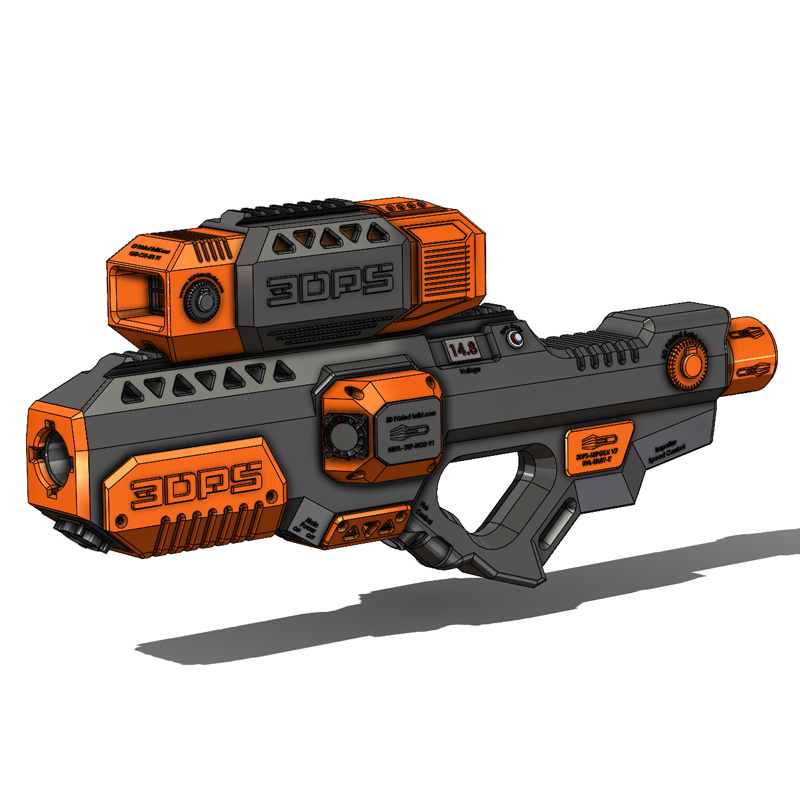
Portfolio
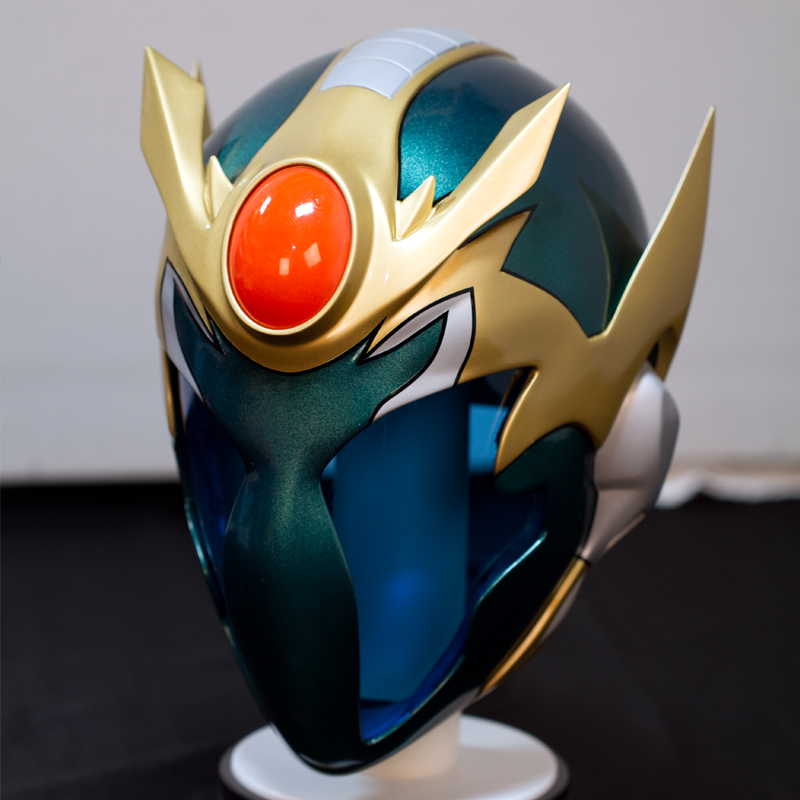
Comic Book Character Helmet
A few years ago, we were approached by a Comic Book author to see if we could recreate his character’s helmet in a wearable, functionable design. I have always wanted to do a helmet, so we took the task on. The criteria from the designer would prove to be challenging. The helmet would have to have: A lighted gem, lighted interior, transparent blue face shield, rear removable hatch, and a few additional requirements. The difficult part was keeping the helmet relievedly small and then getting all the electrics and mechanics in there.
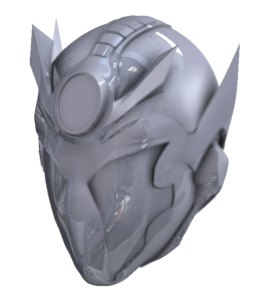
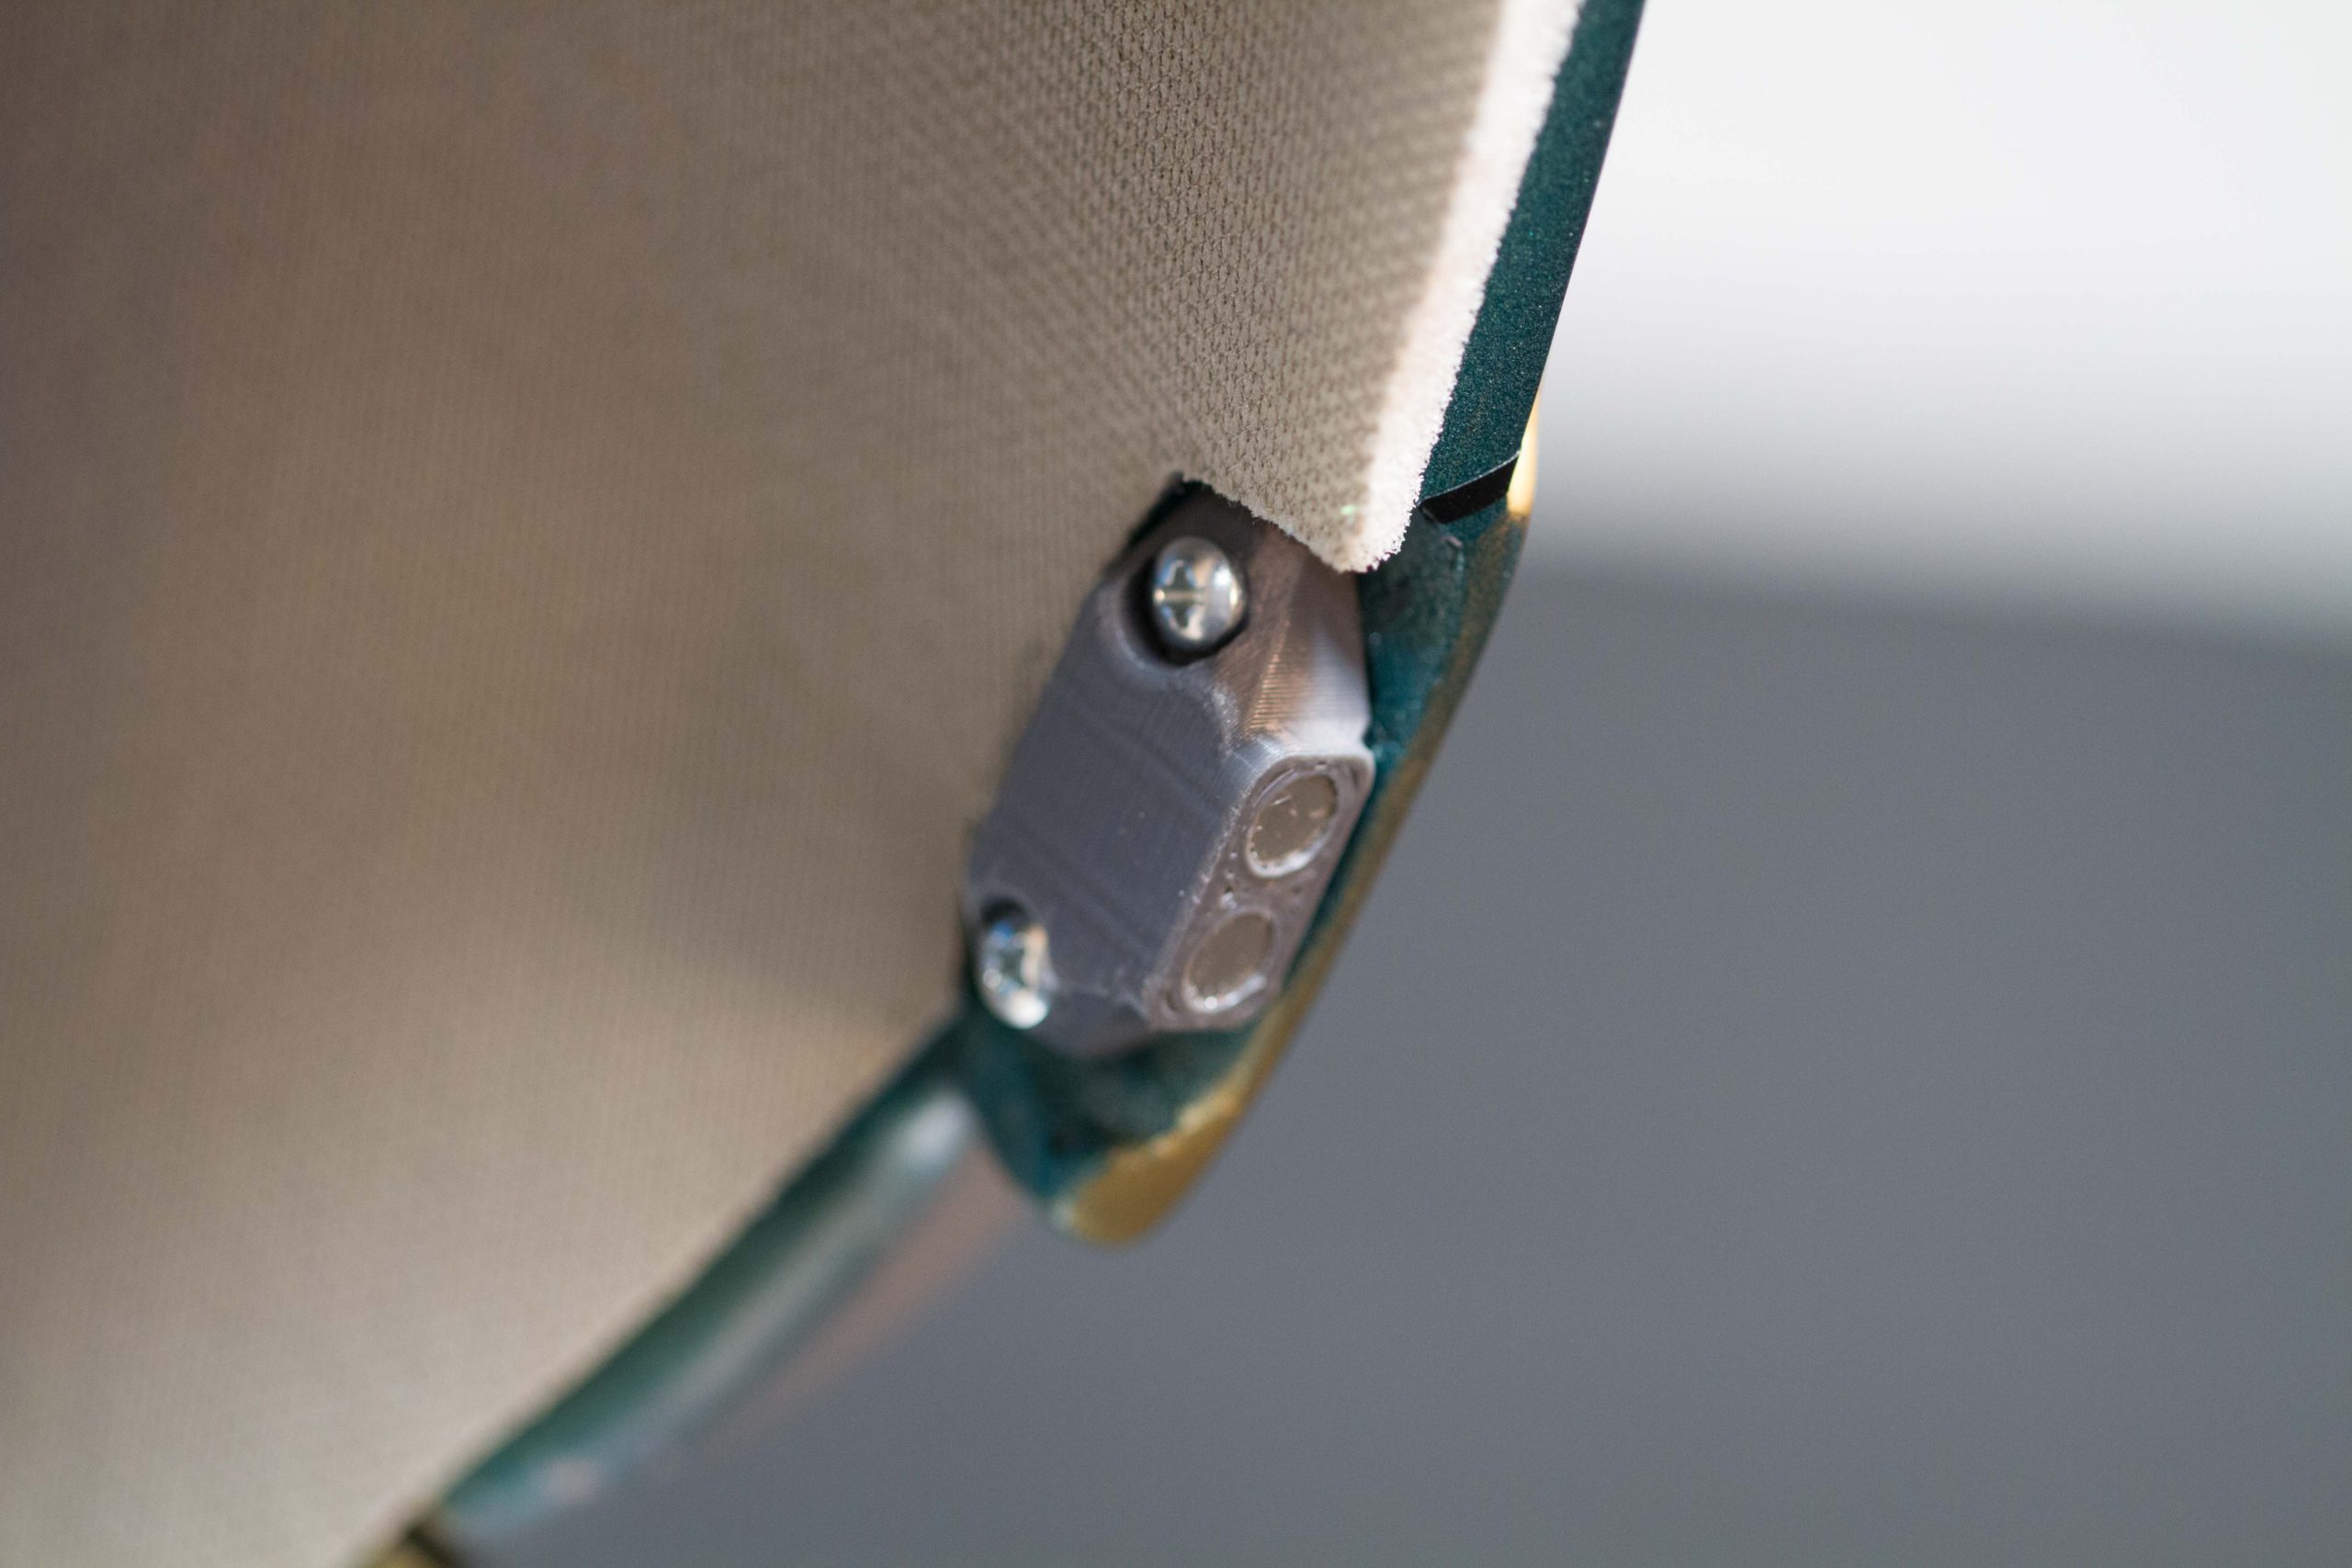
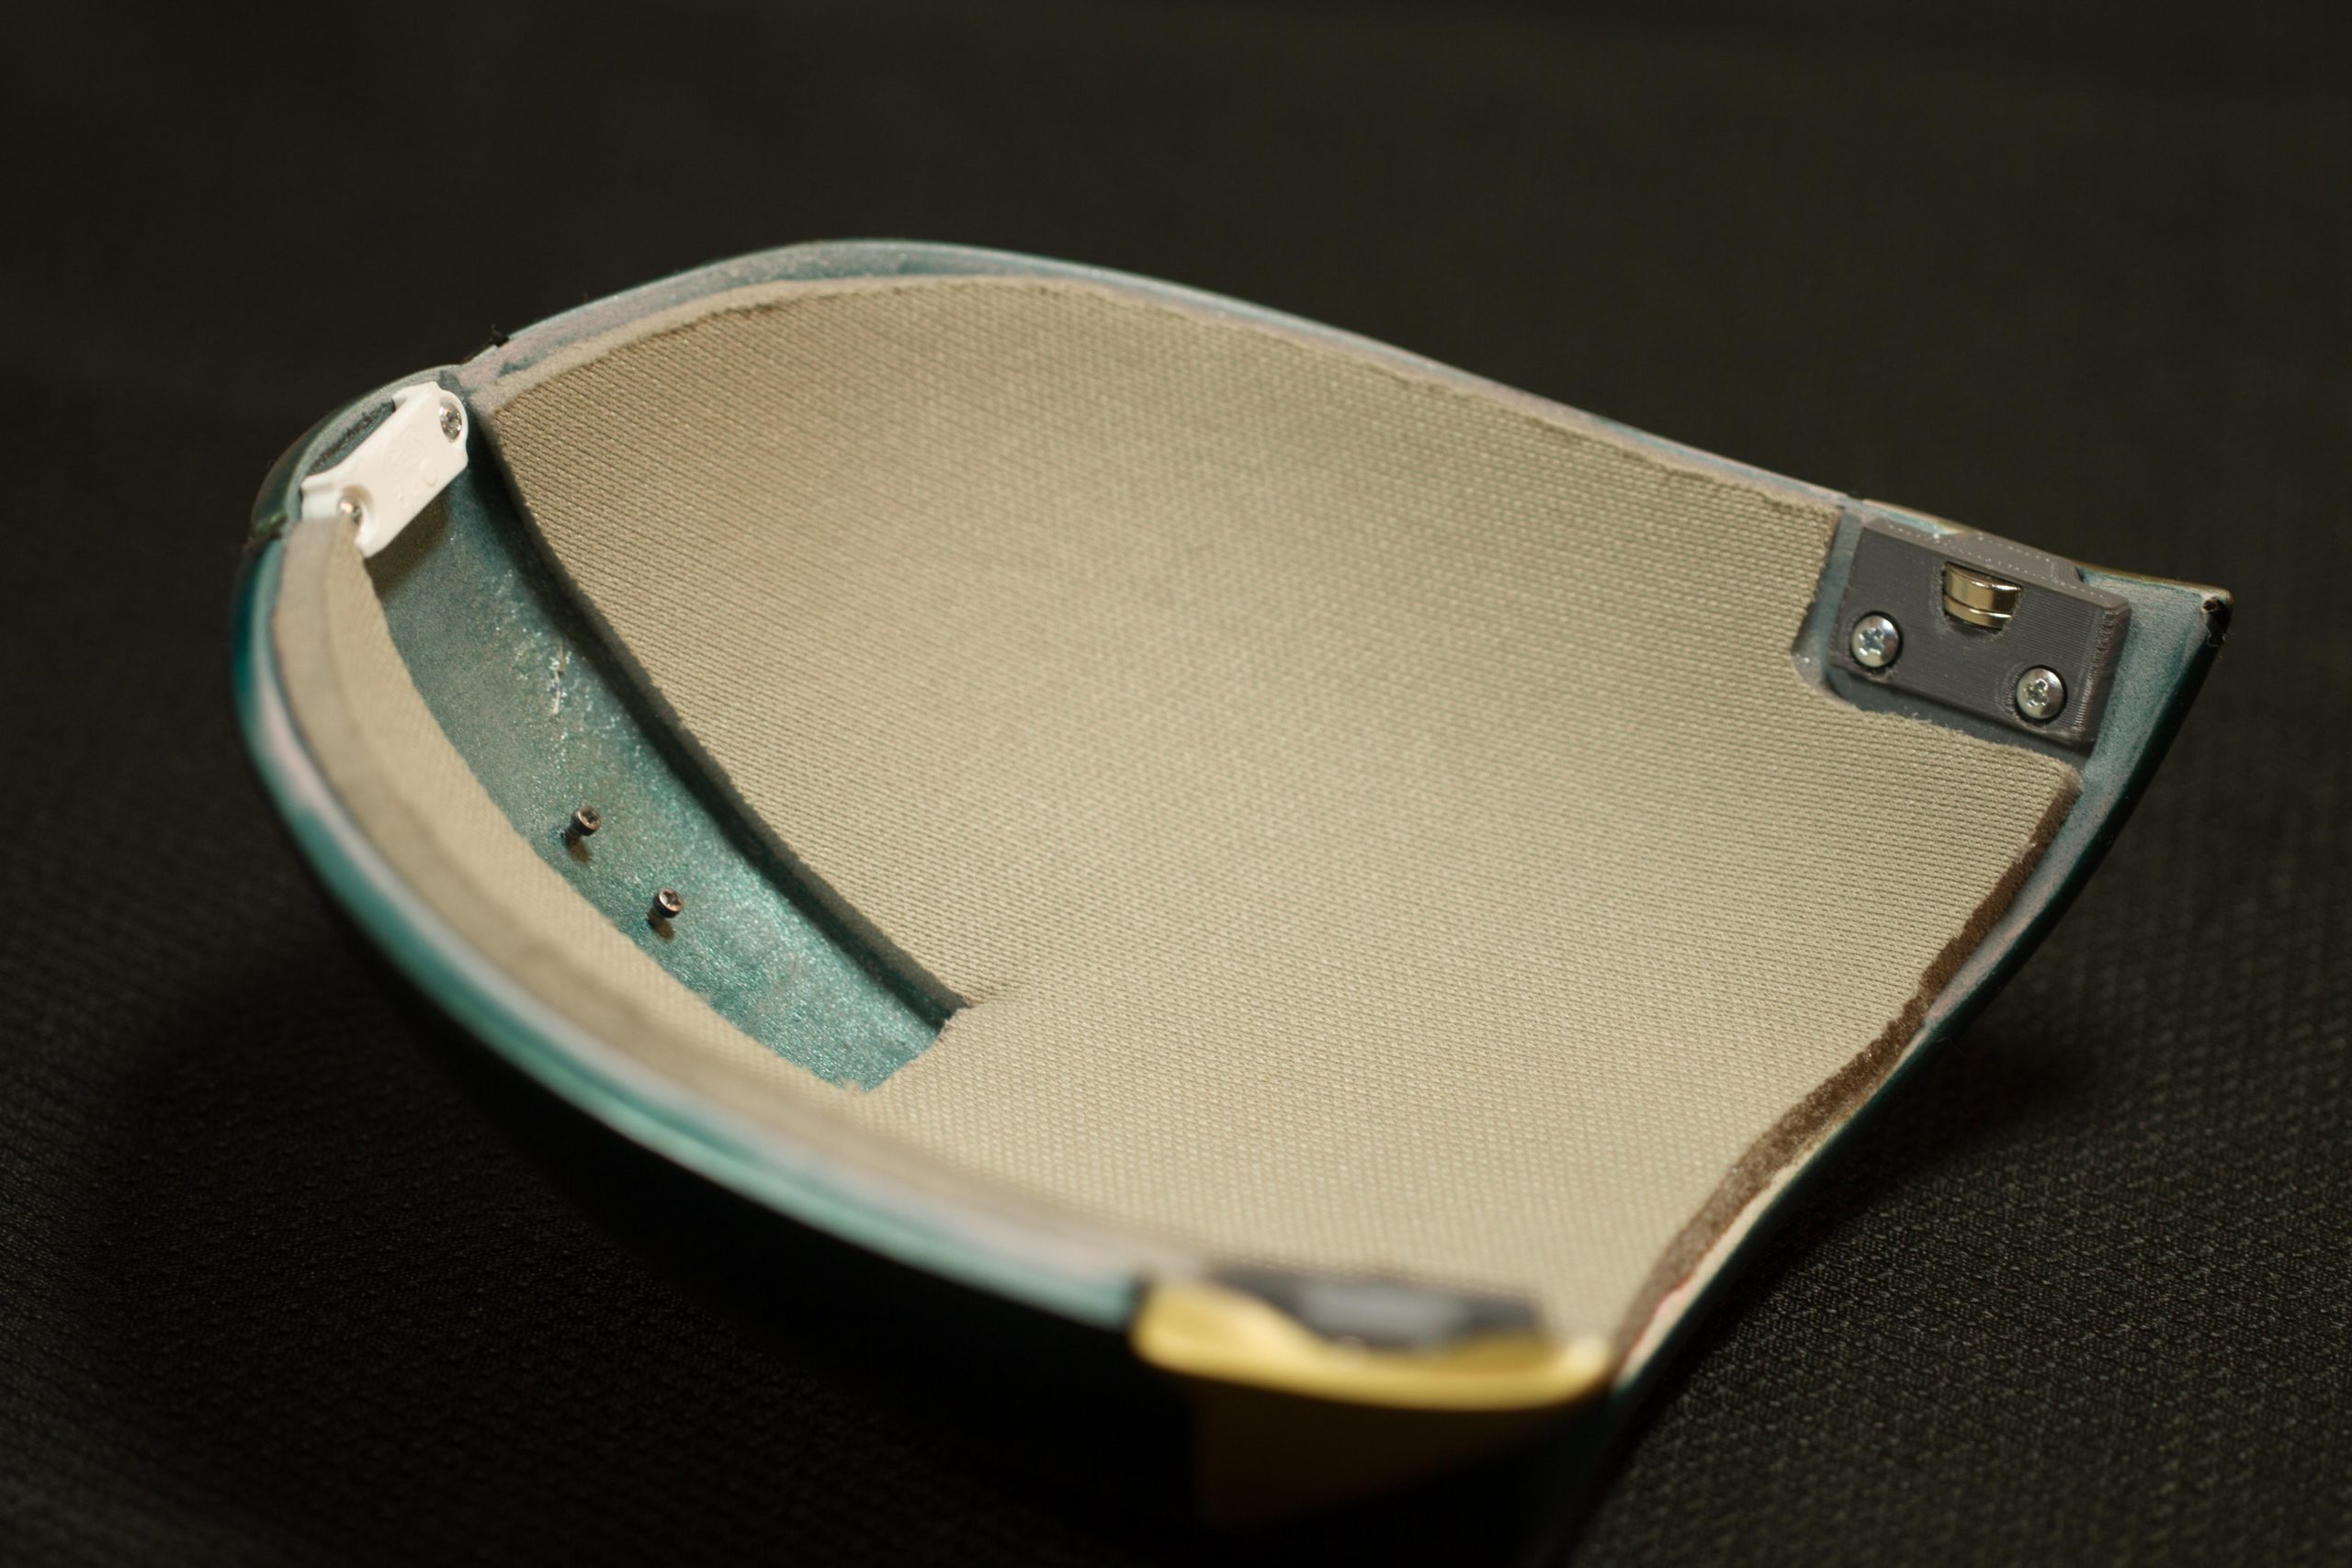
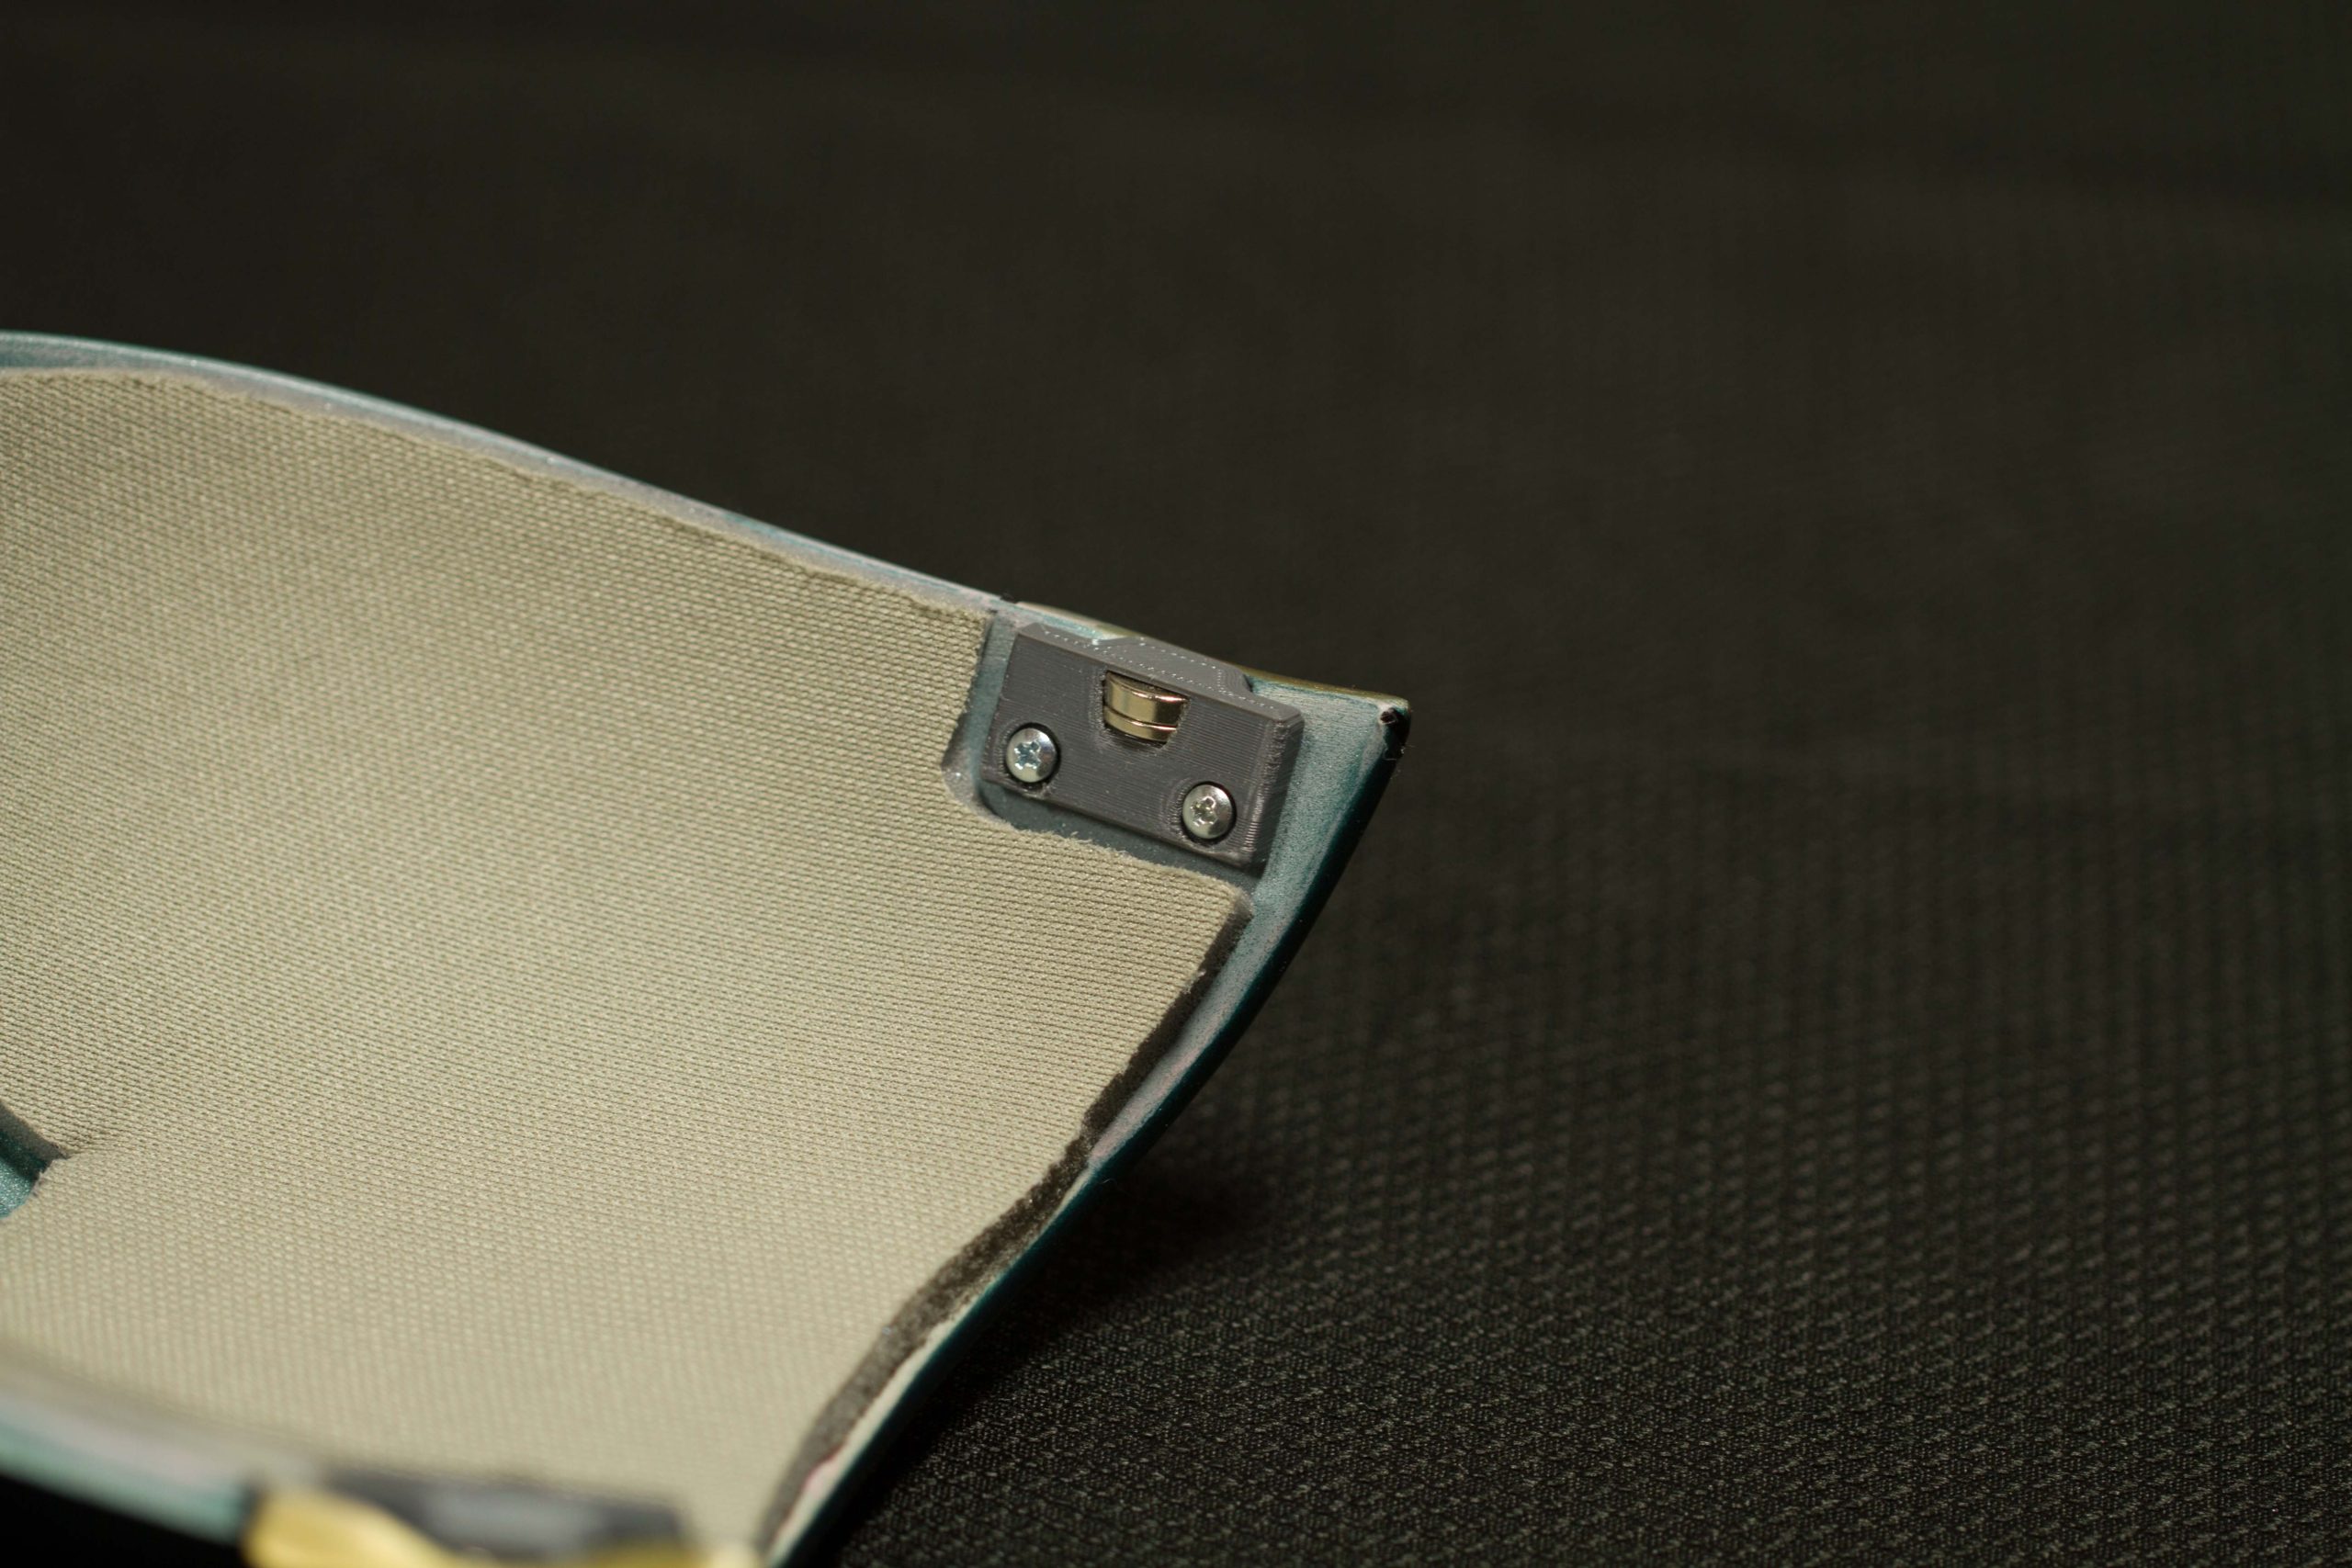
First off, we had to run a test print so that we would have something in our hands to play around with and see how to get everything in there. Also, the customer wanted the helmet to fit very closely to his head (more like a mask than a helmet). After a few prints we got the overall size of the helmet down to a minimum and started to look at how to make a removable hatch so the wearer could put it on without a lot of trouble. We looked at mounting the hatch with hinges, straps, mechanical fasteners, and a list of other fasteners. In the end we used Neodymium magnets to connect the rear hatch onto the helmet and as a failsafe we connected elastic strap at the very top of the helmet. Mostly so that hatch could not fall off when wearing or when trying to put the helmet on. There were other ways that would probably have been more functional, but this method took up a minimum amount of depth in the helmet, something that we were noticeably short on. We designed and printed the mechanical clamps for the magnets and the upper strap. The strap consisted of a two position removeable catch that would allow the user some adjustment for easy of putting it on and if he wants to remove the back hatch, he could do so by releasing the strap at the adjustment point.
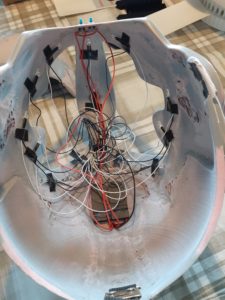
For the interior face shield lighting (see below picture) we used (14) 12V white LEDs, spaced evenly around the eye openings and similarly (8) 12V white LEDs to light up the gem on top of the helmet. Each had a separate micro on/off switch so he would be able to control them individually. We mounted both switches in the bottom of the helmet’s chin so they would not be easily visible yet still have ready access to them. We used (4) 3-volt batteries to power the LED’s so that during the daytime there still would be enough light to see them in the helmet. All connections were soldered and then hot glued for safety. We use high end silicone wire for all our projects, and two very thin battery cases for the 3V watch batteries.
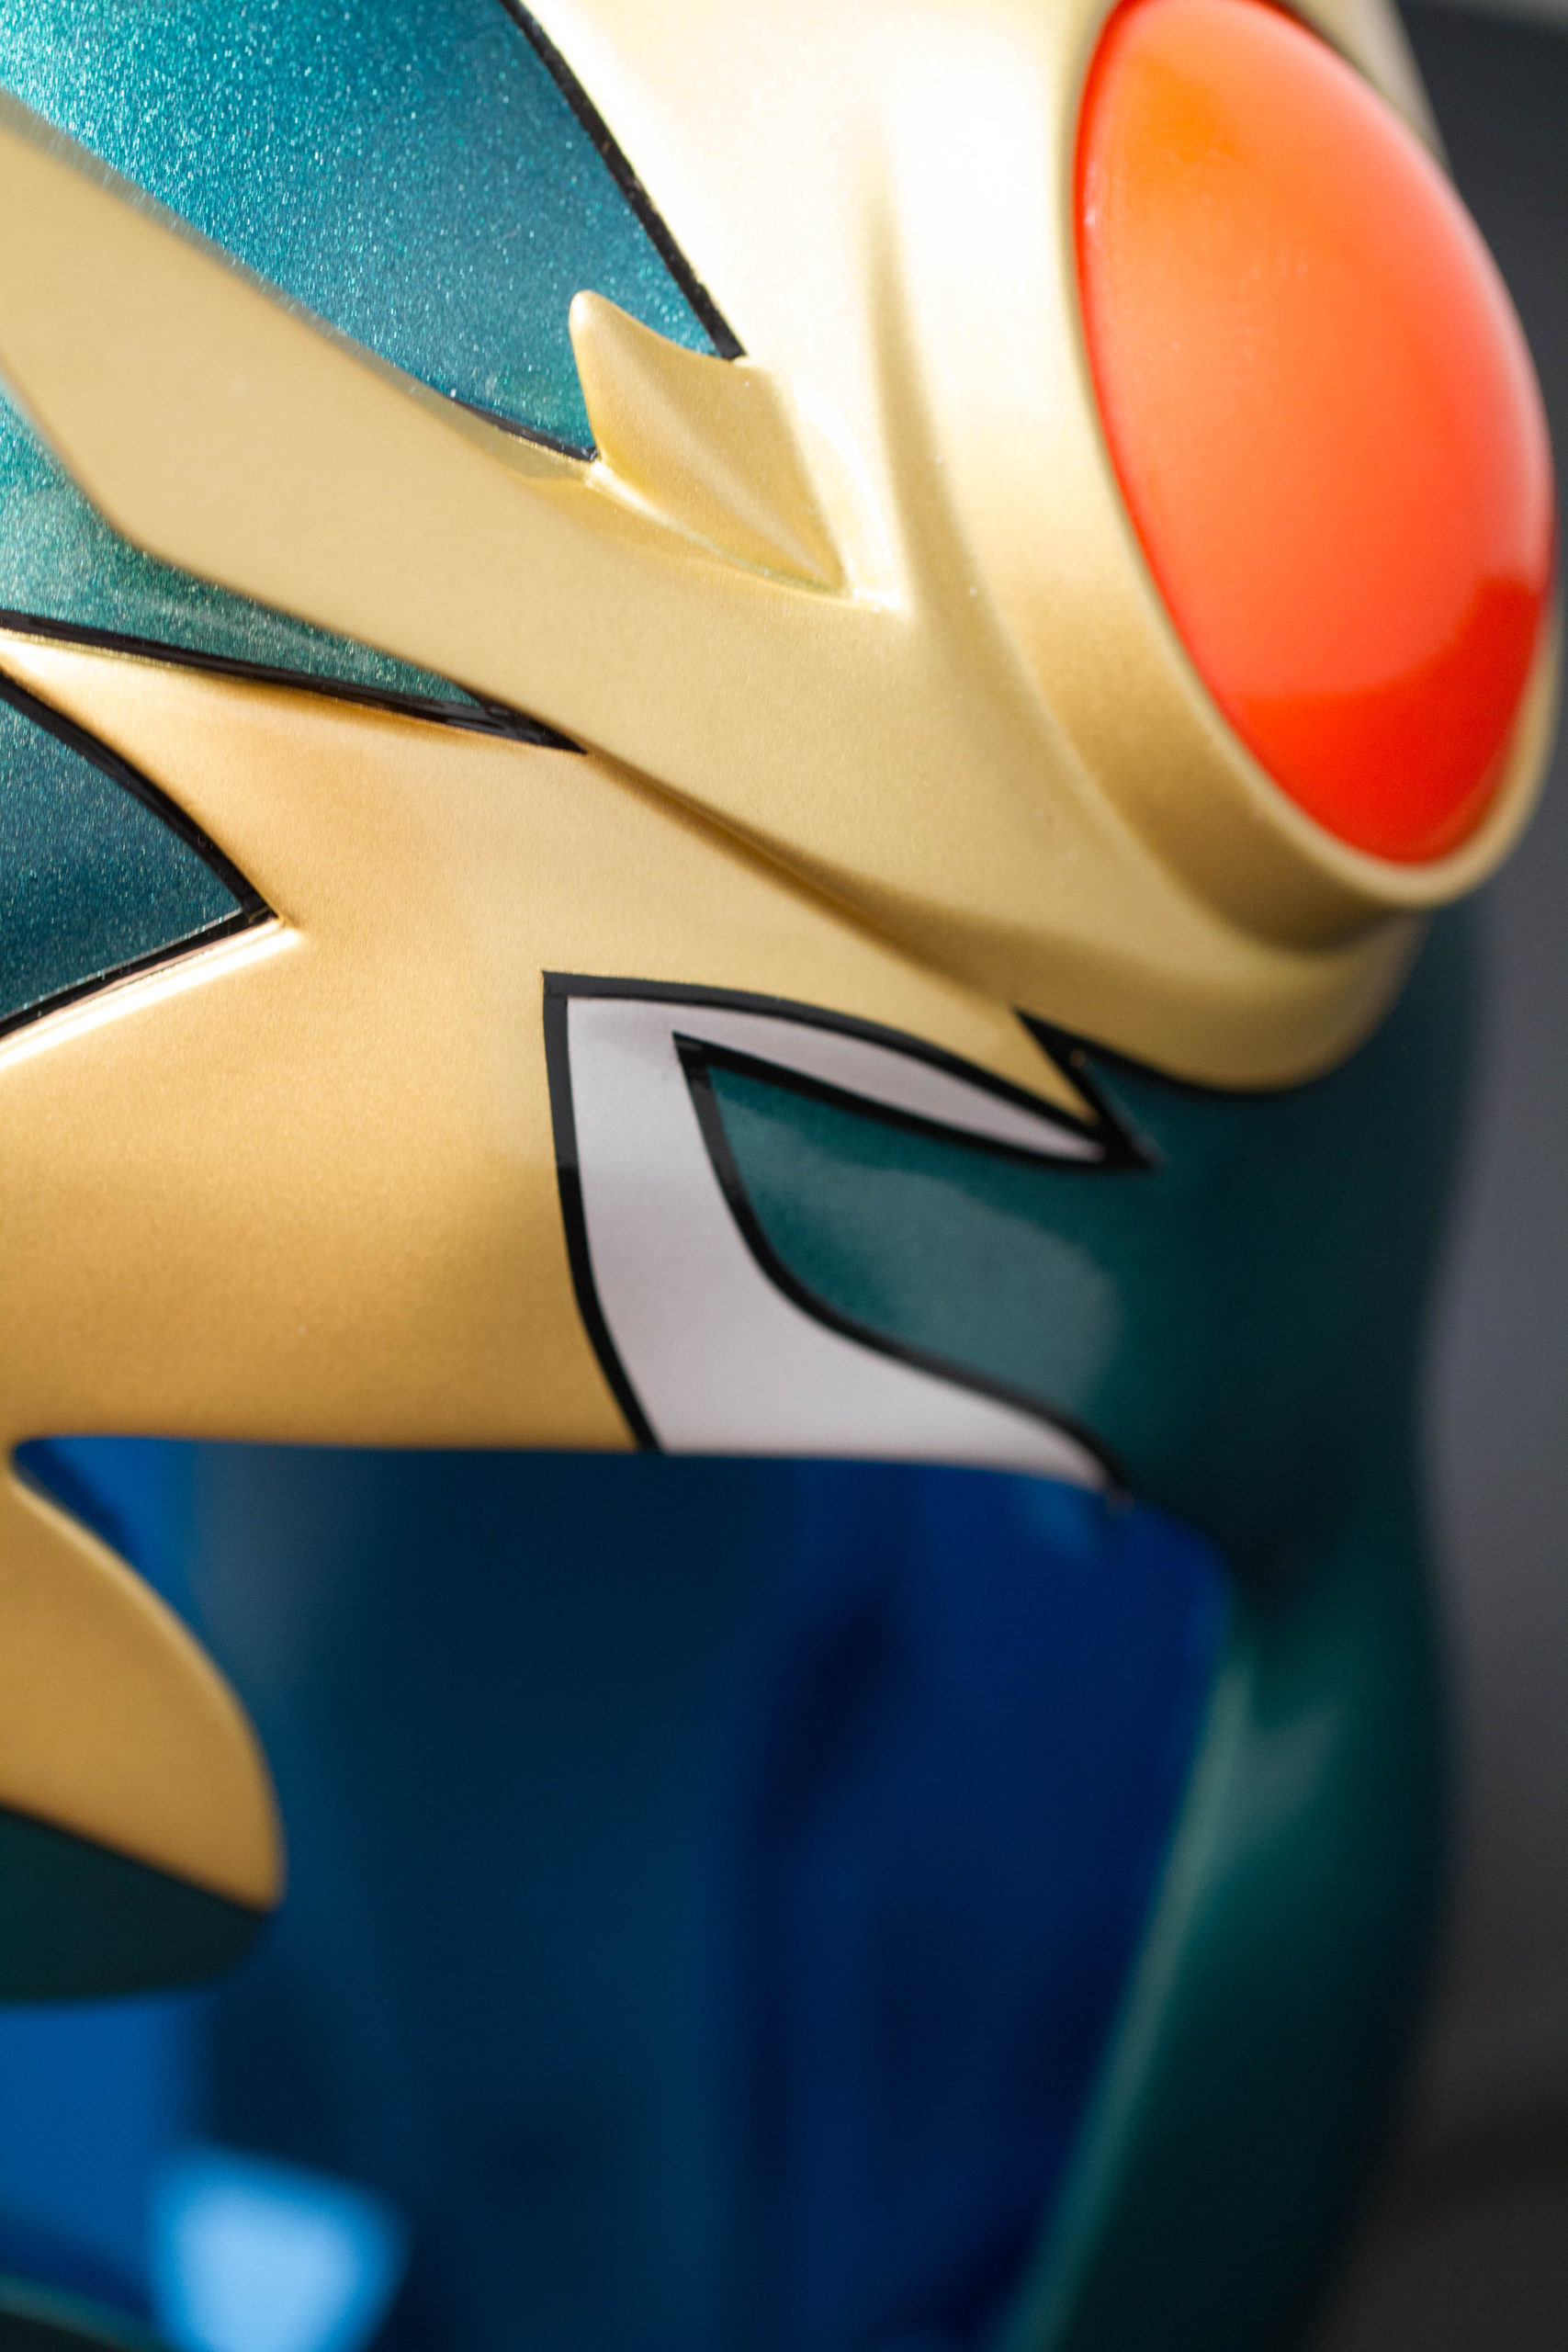
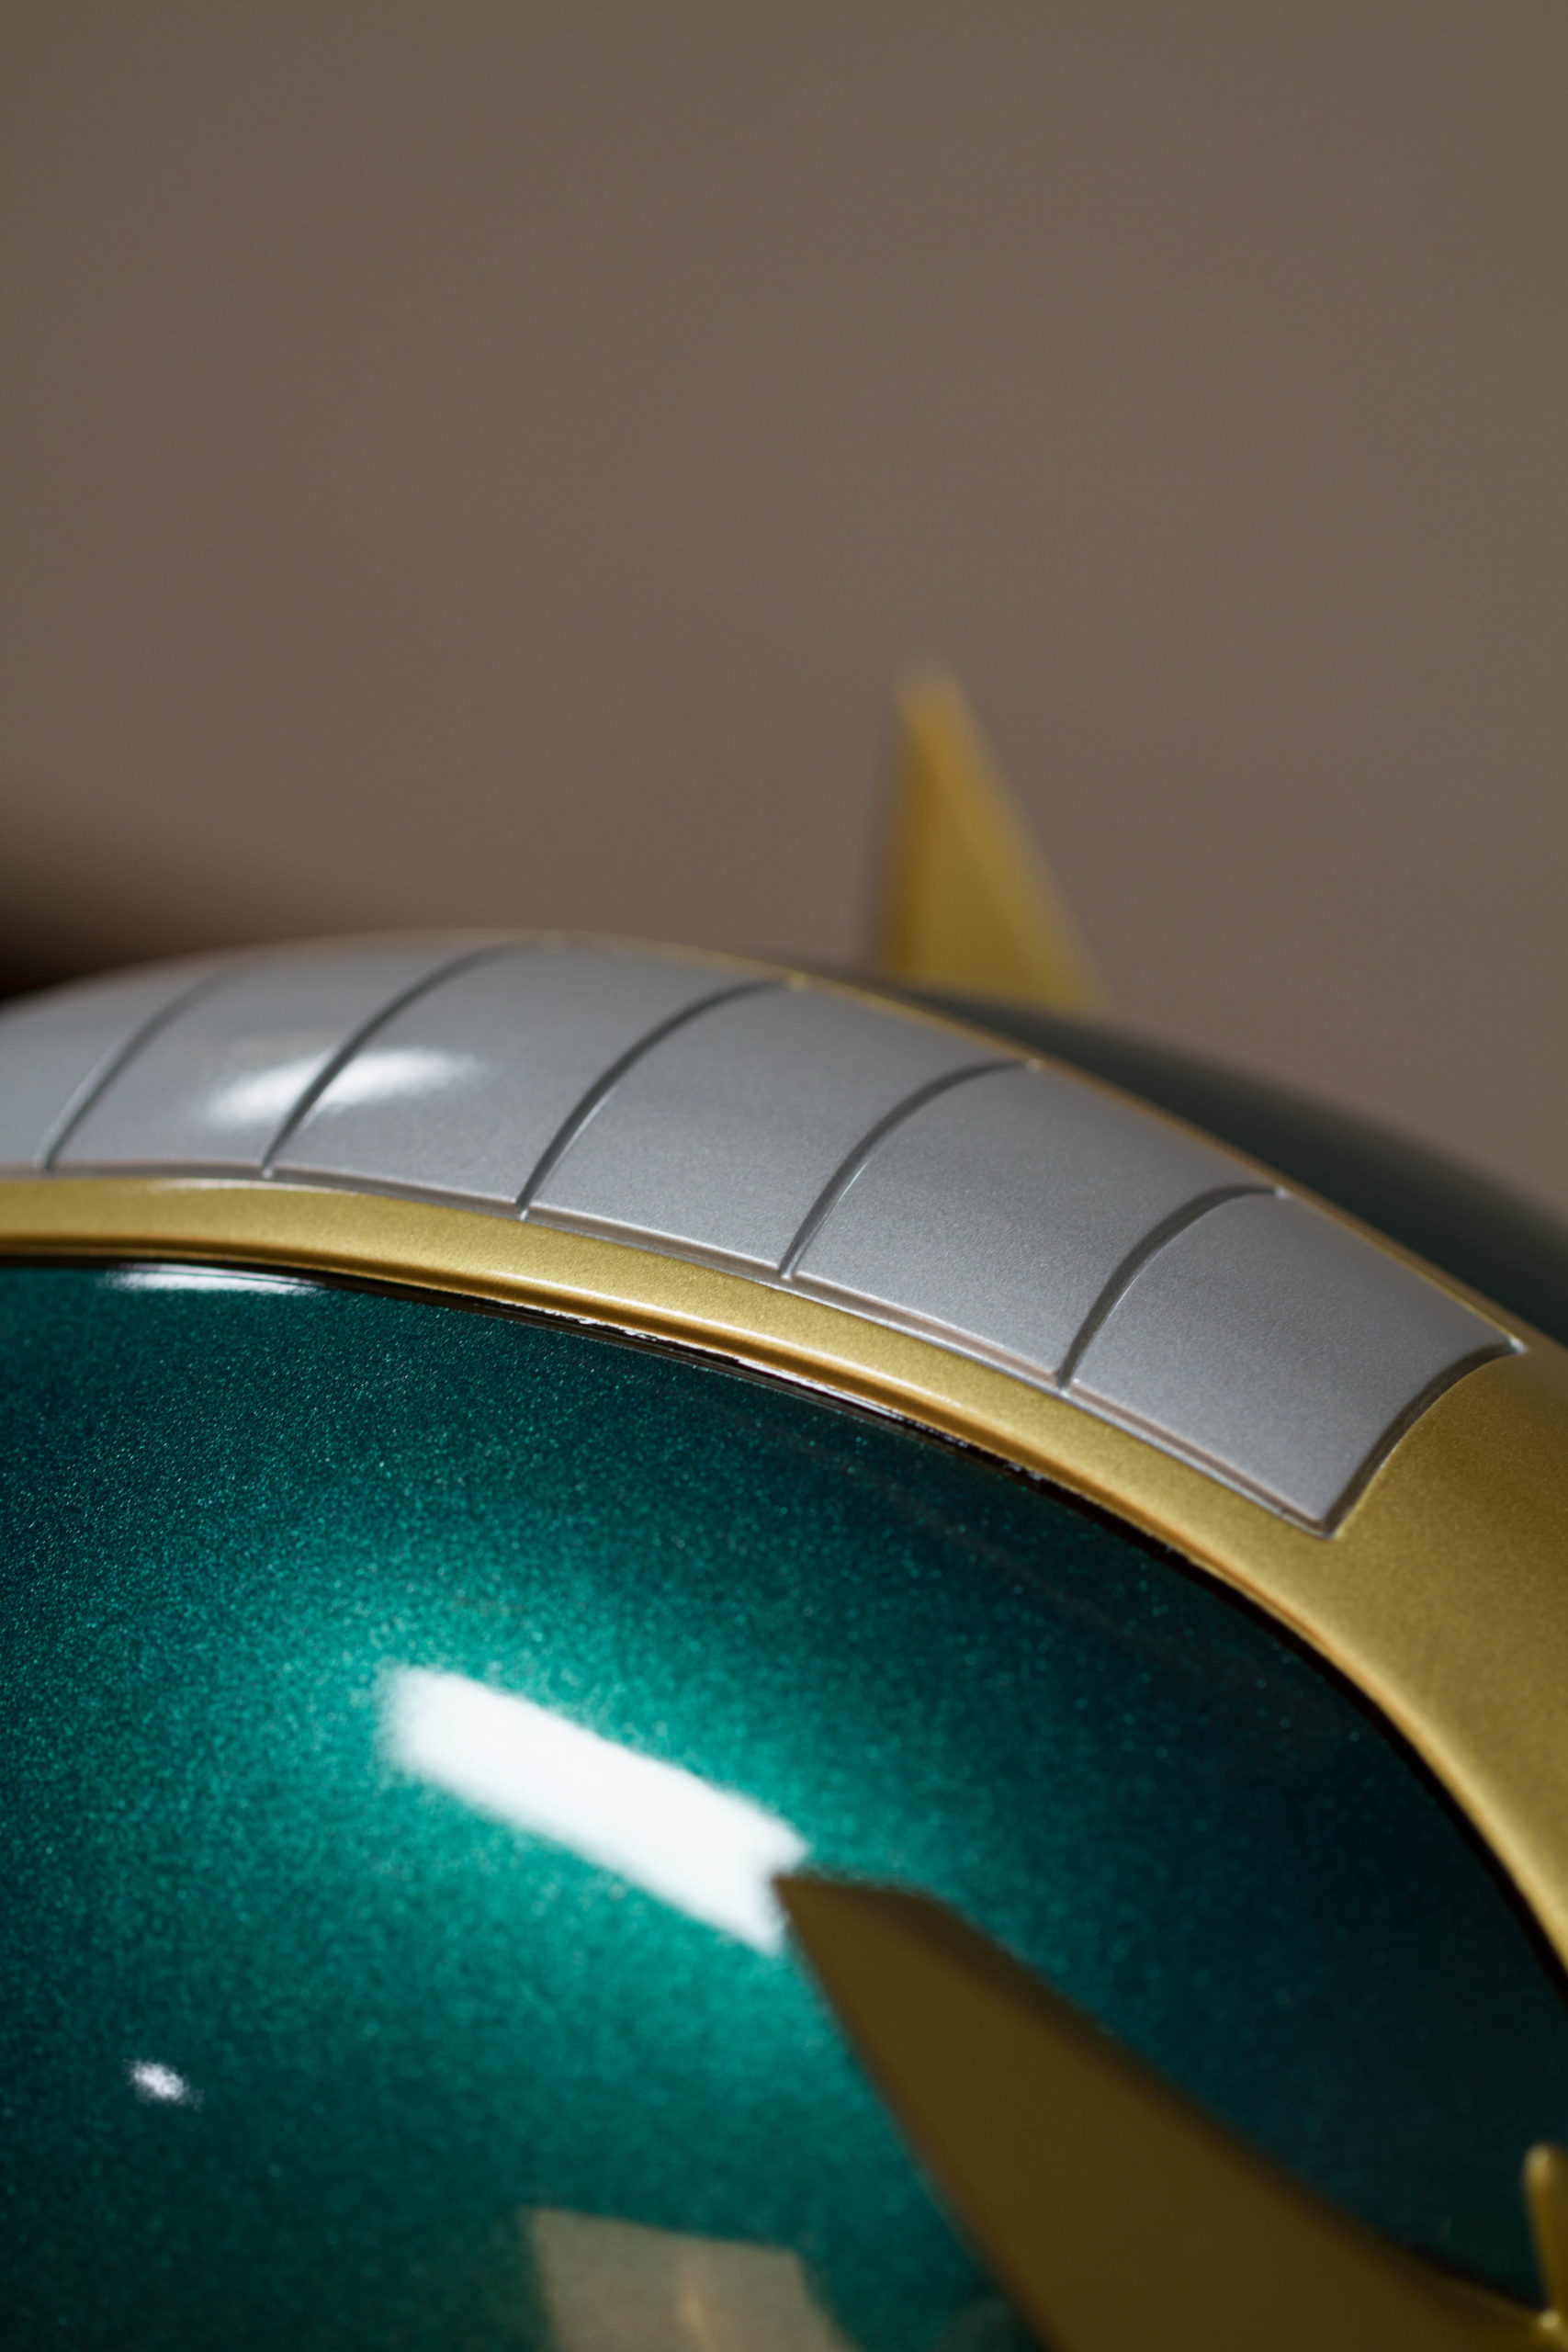
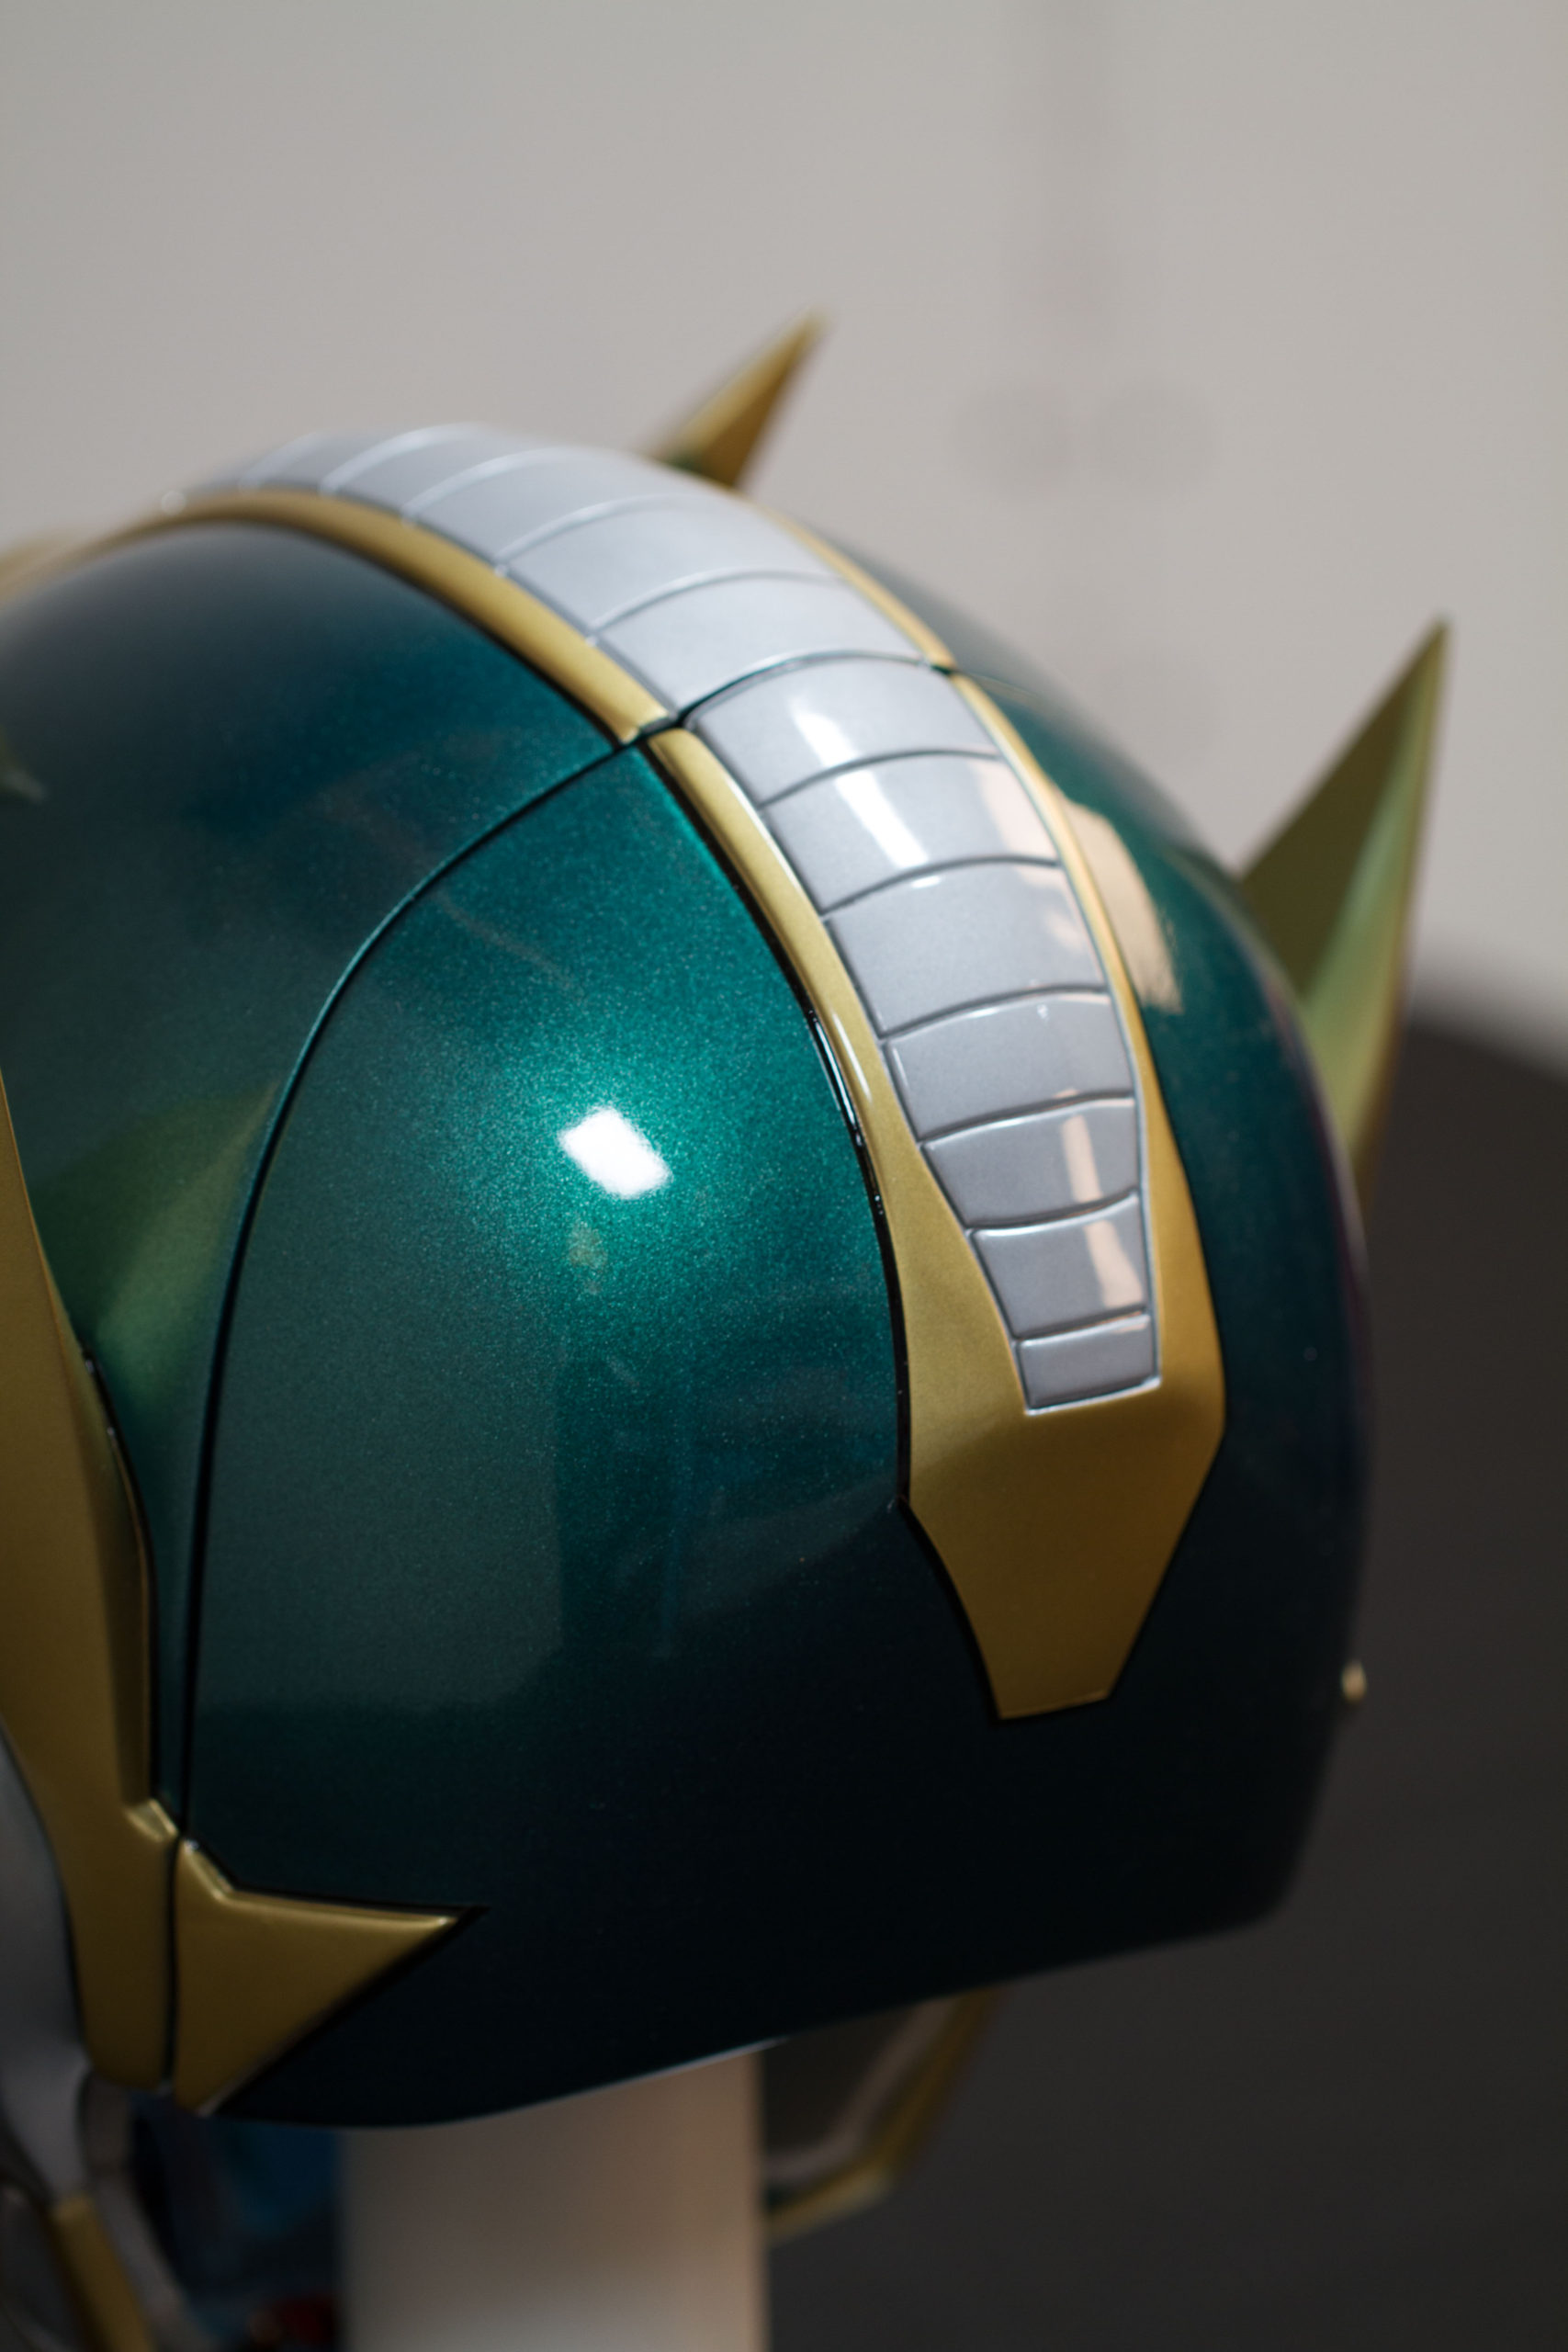
As far as the paint was concerned, there was lot of sanding involved. We started with the 3D print in PLA and sealed it with an overcoat of body filler. This covered up all the lines from the print and gave a surface more conducive of painting. Many coats of filler and sanding, more filler, and more sanding, for a few weeks. Once the surface was flawless, we primer coated and then base coated all the parts. We had to wait a few days after each coat so we would damage the base coat by taping up for the following accent colors. Metallic paint is extremely easy to screw up. The gold and silver were tricky because any sanding on them would change their finish. But eventually we got a flawless clear coat overtop the entire helmet and got ready for the assembly portion of the build.

The transparent blue eye shields were hard to bend into the shape around the eye openings. Too much heat and you can leave fingerprints or marks in the acrylic and not enough and you would see every gap between the helmet and shield, not the look we were going for. So, we applied the heat using a heat gun instead of a oven to heat it. This worked much better because we could apply the heat locally where it was needed. Another part checked off our list.

The hatch magnets were doubled for strength and set inside brackets which we printed out and then screwed into the helmet’s plastic base. All this was done prior to painting so we just had to assemble all the parts after painting. We also completely lined the helmet with automotive foam head liner material so it would be as comfortable as possible for the wearer.
In the end, it took much longer that we ever expected, but it was worth it because the helmet came out very nice and the customer was pleased to say the least. The customer asked us to do a second helmet for a female character so stay tuned for that project coming up soon.